Nội dung
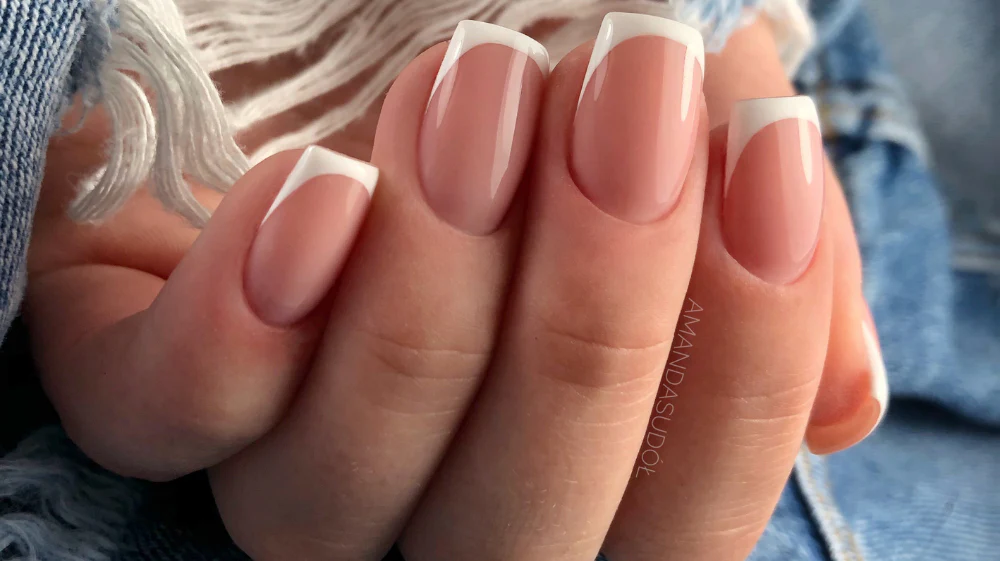
ToggleIf you’ve ever admired your freshly done gel manicure, only to find a corner peeling after just a few days, you’ve experienced one of the most common frustrations in nail care—lifting. Not only does it ruin the flawless look, but it can also lead to nail damage if left unaddressed.
The good news? Once you understand the causes of lifting and follow a professional approach to prep, application, and aftercare, you can prevent lifting in gel nails and enjoy a salon-quality finish for weeks.
This guide will walk you through the exact steps, tools, and products you need—plus expert tips from leading brands like OPI, CND, and Gelish—so you can get perfect gel nails every time.
Why Do Gel Nails Lift?
Lifting occurs when the gel separates from your natural nail plate. This can happen along the edges, near the cuticle, or in patches across the nail surface. Common causes include:
Improper nail preparation – Oils, dust, and moisture left on the surface prevent gel from bonding.
Incorrect curing – Using the wrong lamp or cure time leads to poor adhesion.
Thick application layers – Heavy coats can peel at the edges or wrinkle during curing.
Gel on skin or cuticles – Contact with skin creates a weak point for peeling.
Weak natural nails – Peeling or oily nails make it harder for gel to stay in place.
Environmental factors – Frequent water exposure or harsh chemicals can break the seal.
Understanding the “why” is the first step in learning how to prevent it.
Step 1: Perfect the Nail Prep
Nail prep is the foundation of gel adhesion. Even the highest-quality gel systems—like OPI GelColor, CND Shellac, or Gelish—won’t stay put if the nail isn’t prepared correctly.
Proper prep process:
Remove old product – Use 100% pure acetone or a professional remover.
Shape nails – Use a fine-grit file (180 or higher) to refine shape and length.
Push back cuticles – Gently lift and remove any skin from the nail plate with a cuticle pusher or orange wood stick.
Lightly buff – Use a 240-grit buffer to remove the natural shine without thinning the nail plate.
Cleanse the nail surface – Wipe with a lint-free pad soaked in CND ScrubFresh, Gelish Nail Surface Cleanse, or 70%+ isopropyl alcohol.
Pro Tip: Never soak nails in water before gel application—it causes swelling that can lead to lifting as the nail contracts.
Step 2: Choose the Right Base Coat
A foundation base gel acts as the adhesive layer between your natural nail and gel polish. It’s critical to pick a high-quality option designed for your system.
Recommended base gels:
Meski Foundation Base Gel – Professional-grade formula for long wear and easy soak-off.
OPI GelColor Base Coat – Smooth, self-leveling, and trusted by salons.
Gelish Foundation Base Gel – Known for strong adhesion and consistent results.
Apply a thin, even coat, making sure to cap the free edge. Cure according to the product instructions—usually 30–60 seconds under LED.
Step 3: Apply Gel in Thin, Controlled Layers
Thick gel layers are one of the top reasons for peeling and lifting. Not only do they take longer to cure, but they’re also more prone to wrinkling.
Layering tips:
Apply two to three thin coats of color.
Gently shake or roll the bottle before use to mix pigments evenly.
Always cap the free edge to seal the nail tip.
Keep gel away from skin—if it touches, remove with a clean brush before curing.
Step 4: Cure with the Correct Lamp
Even perfect application can fail if you cure incorrectly. Each gel system is designed for specific light wavelengths and cure times.
Lamp guidelines:
Use the lamp designed for your gel brand—for example, CND LED Lamp for Shellac or Gelish 18G LED Lamp for Gelish.
Follow manufacturer cure times exactly. Under-curing leads to soft, weak gel; over-curing can cause brittleness.
If using UV lamps, replace bulbs every 6 months to maintain performance.
Step 5: Seal with a Durable Top Coat
A high-quality top coat not only adds shine but also locks in your gel color and provides an extra layer of protection.
Top coat options:
Meski Crystal Top Coat – Glossy, salon-grade durability.
CND Shellac Top Coat – Scratch-resistant and easy to remove.
OPI GelColor Top Coat – Known for chip resistance and long wear.
Be sure to seal the free edge and cure completely for a hard, protective finish.
Step 6: Maintain Your Manicure Between Services
To truly prevent lifting in gel nails, what you do after application is just as important as the process itself.
Aftercare tips:
Wear gloves for cleaning or dishwashing.
Apply cuticle oil daily—CND SolarOil and Essie Apricot Cuticle Oil are great choices.
Avoid soaking hands in hot water for long periods.
Never pick or peel gel; it damages the nail plate and makes future lifting more likely.
Troubleshooting Persistent Lifting
If you’ve followed all the steps and still have issues, the problem may be:
Naturally oily nail beds – Use a pH-bond dehydrator before base gel application.
Damaged nail plate – Take a break from gel and focus on nail recovery with treatments.
Incompatible product mix – Stick to one brand’s base, color, and top for consistent chemistry.
Building Your At-Home Gel Kit
If you’re serious about long-lasting gel nails at home, invest in professional tools and products. A complete kit should include:
Nail files (180/240 grit) and a 240+ grit buffer
Cuticle pusher and nipper
Nail cleanser or dehydrator
Foundation base gel
Gel polish colors
Top coat
UV/LED lamp
Cuticle oil
You can find many of these items from MeskiNail.com, as well as from pro retailers like Sally Beauty, Amazon, and Ulta.
Why Meski Nails?
At MeskiNail.com, we don’t just sell products—we curate professional-quality tools that make it easier for both home users and salon pros to get consistent, beautiful results. Our gel systems are tested for adhesion, smoothness, and easy removal, so you can enjoy flawless nails without lifting.
Final Thoughts
Gel nails should be a joy, not a frustration. By prepping nails properly, using the right products, applying thin layers, curing correctly, and caring for your manicure afterward, you can prevent lifting in gel nails and keep your manicure perfect for up to three weeks.
If you want salon-quality results at home, it’s all about using professional tools and taking the time to do each step right—and that’s exactly what we offer at MeskiNail.com.
Contact Us
Meski | Nail N More
10015 Garden Grove Blvd, Garden Grove, CA 92844
Email: contact@meskinail.com
Phone: +1 (800) 869-2126


